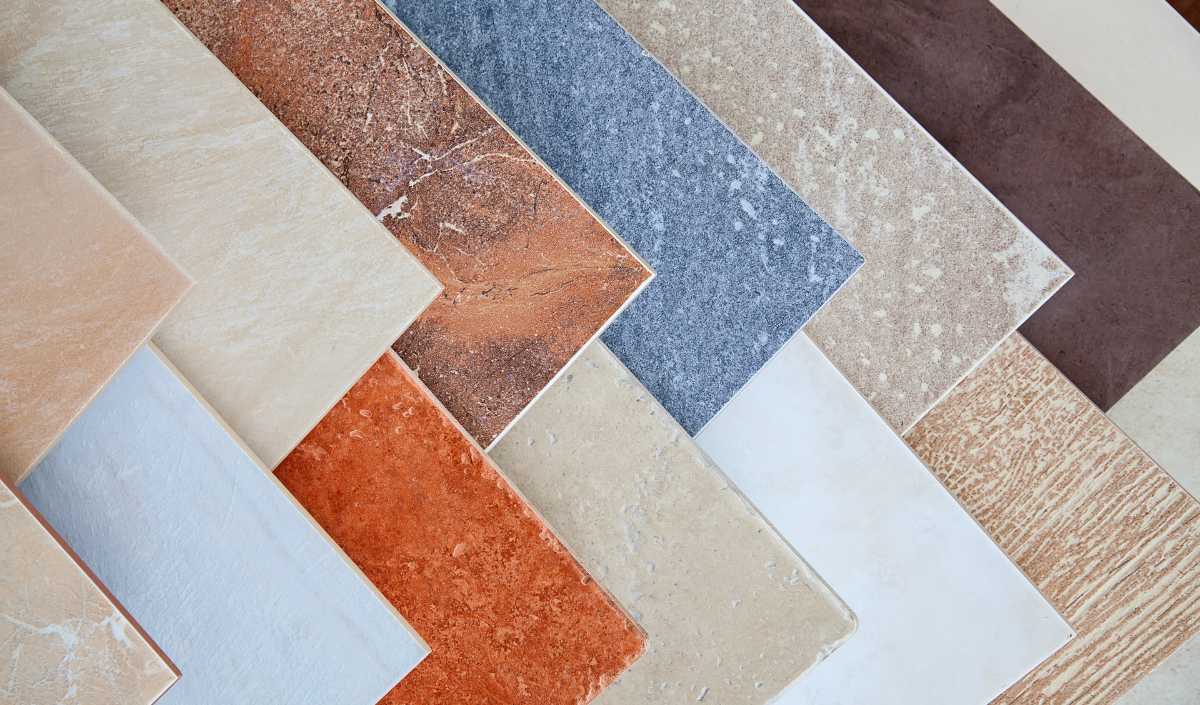
You can have a beautiful new floor with the satisfaction of doing it yourself while saving hundreds, if not thousands of dollars on installation. There are thousands of beautiful designs available at Merola Tile to choose from. Here’s how to install a floor yourself:
- Prepare the surface: The first step in installing a new tile floor is to prepare the surface. This includes removing any existing flooring, cleaning and leveling the subfloor, and making sure it is free of any debris or imperfections.
- Measure the room: Measure the length and width of the room to determine the square footage of the area you will be tiling. This will help you determine how much tile you will need to purchase.
- Plan the layout: Plan the layout of the tile before you begin installing it. This includes deciding on the direction of the tile, determining the center point of the room, and figuring out where the tile will need to be cut to fit around obstacles such as doorways and cabinets.
- Mix the mortar: Mix the mortar according to the manufacturer’s instructions. It is important to mix the right amount of water to achieve the right consistency.
- Spread the mortar: Spread the mortar onto the subfloor using a notched trowel. Start in the center of the room and work your way outwards. Make sure the mortar is spread evenly and is the same thickness as the tile.
- Lay the tile: Begin laying the tile in the center of the room, working your way outwards. Press the tile firmly into the mortar and use a tile spacer to maintain consistent spacing between the tiles.
- Cut the tile: Use a tile cutter or tile saw to cut the tile as needed to fit around obstacles such as doorways and cabinets.
- Allow the tile to set: Allow the tile to set for 24 hours before walking on it.
- Grout the tile: Mix the grout according to the manufacturer’s instructions and apply it to the spaces between the tiles. Use a rubber float to press the grout into the spaces and wipe off any excess grout with a damp sponge.
- Seal the grout: Allow the grout to dry for 24 hours before applying a grout sealer to protect it from moisture and stains.
- Clean the tile: After the grout has dried and been sealed, clean the tile with a damp mop or cloth to remove any remaining grout haze.
- Final inspection: Inspect the tile floor to ensure that it is level and that there are no visible defects. Make any necessary adjustments or repairs.
Tips
A dry run of the tile layout can be helpful before you start the installation process.
When cutting the tile use a tile cutter or tile saw, and when necessary, use a tile nipper for tight spaces.
Use a tile leveling system to ensure that the tile is level and that there is no lippage.
The use of a tile cutter or tile saw should be done with proper safety gear, such as safety goggles and ear protection. Installing a new tile floor can be a bit of a challenge, but with the right tools and a little bit of patience, it can be a rewarding project. With these tips, you will be well on your way to achieving a beautiful new tile floor that will last for years to come.


