
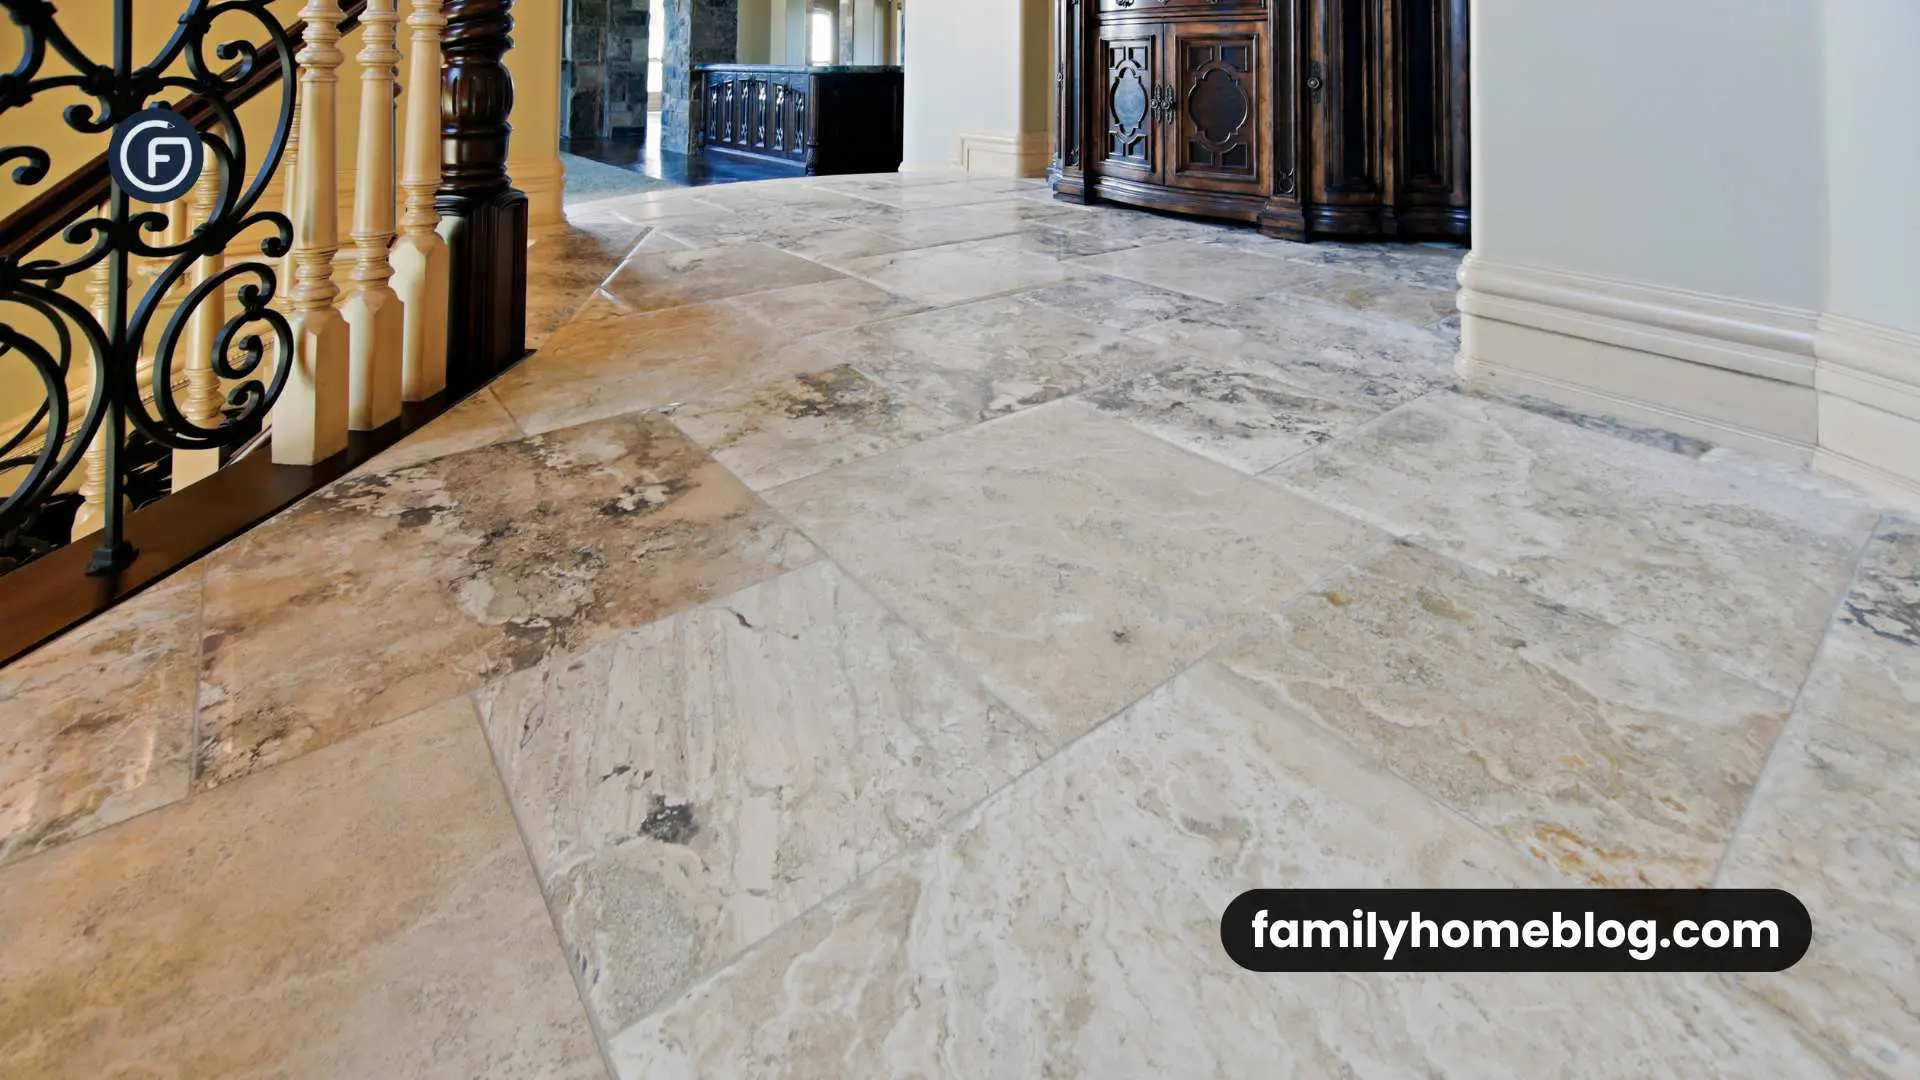
When installing floor tiles, careful planning and precision are essential to achieve a flawless, visually appealing finish. Laying tiles in a well-organized pattern enhances both aesthetics and durability. Whether you are renovating a bathroom, updating a kitchen floor, or refreshing a patio, the right layout is crucial for a professional result. This guide will take you through the steps to achieve a perfect finish, ensuring your space looks polished and well-coordinated.
1. Picking Appropriate Tile Type and Size
Before starting the layout, choose the right tile type and size. Different rooms may require ceramic, porcelain, or natural stone tiles:
- Tile size: Larger tiles create a seamless look with fewer grout lines, while smaller tiles suit intricate patterns.
- Tile material: Porcelain is good for high-traffic areas, stone offers a natural appearance, and ceramic is versatile.
Both the material and size will affect the overall layout and pattern, which are key to achieving a perfect finish.
2. Precise Measurement of the Floor Space
Accurate measurements are the foundation of a perfect layout:
- Mark a center point: Use a tape measure to find the center of the room, as most layouts start from the middle for symmetry.
- Divide the space: Create a grid with chalk or a laser level, dividing the room into quadrants.
Careful planning at this stage prevents awkward, uneven sections of tiles.
3. Choosing a Tile Layout Pattern
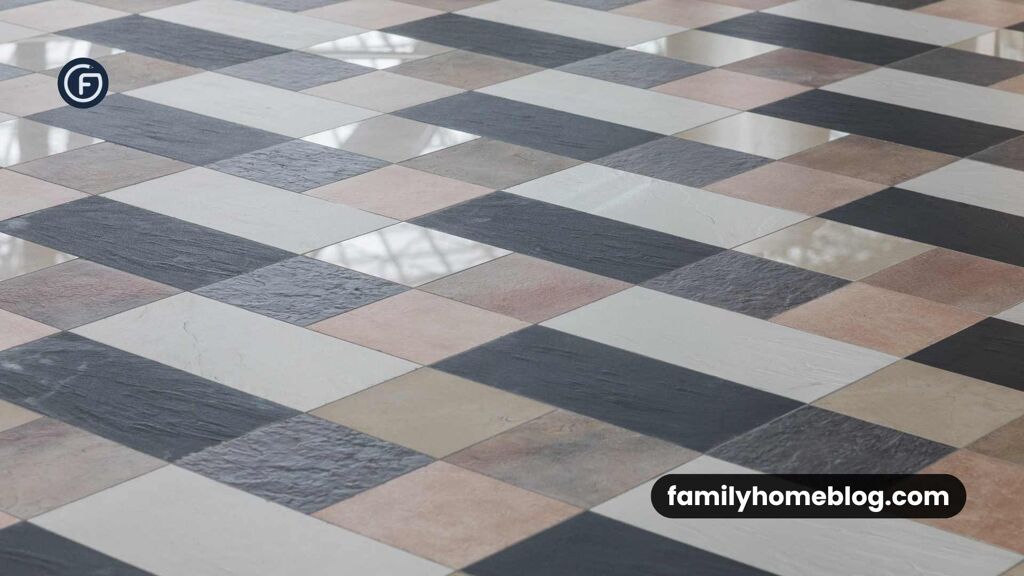
Choosing a pattern that complements your space is exciting:
- Straight Lay: Tiles aligned in a straight grid, ideal for modern, minimalist spaces.
- Diagonal Layout: Tiles laid at a 45-degree angle create visual interest and make rooms appear larger.
- Herringbone or Chevron: These dynamic zigzag patterns work well for feature floors in hallways or kitchens.
Explore options to find a tile pattern layout that suits your style and space.
4. Dry Laying the Tiles
Before adhering tiles with mortar, do a “dry lay” to preview the pattern:
- Start from the center: Lay tiles from the middle outward.
- Use spacers: Simulate grout lines with spacers to ensure consistent gaps.
- Adjust as needed: Make any necessary adjustments to avoid awkward cuts.
This step helps prevent mistakes during the actual installation.
5. Cutting Tiles to Fit Perfectly
Some tiles will need to be cut to fit around walls, doorways, or fixtures:
- Measure twice, cut once: Double-check your measurements to avoid wasting tiles.
- Use a tile edge guide: Ensure straight, clean cuts that align with the layout.
- Sand edges: Smooth rough edges with a tile file for a clean, professional look.
6. Laying and Applying Mortar
Proper mortar application keeps tiles securely in place:
- Prepare the mortar: Mix it to a smooth, paste-like consistency.
- Spread evenly: Use a notched trowel to spread mortar over small sections.
- Work in small areas: Focus on one quadrant at a time to prevent the mortar from drying out.
This ensures an even surface for the tiles.
7. Laying the Tiles
Now, begin placing the tiles in the mortar:
- Press tiles firmly: Position each tile and press down gently but firmly.
- Use spacers: Maintain uniform grout lines with spacers.
- Check levels frequently: Ensure the tiles are even, adjusting as necessary.
Work one section at a time to keep the tiles aligned and secure.
8. Grouting the Tiles
Grout fills the gaps between tiles, sealing the layout and enhancing the look:
- Mix grout: It should be thick enough to stay in place but spreadable.
- Apply with a rubber float: Press the grout diagonally across the tiles.
- Wipe away excess: After 10–15 minutes, wipe away excess with a damp sponge.
Grouting secures the tiles and completes the polished appearance.
9. Sealing and Cleaning the Tiles
Once the grout dries, clean the tiles and apply sealant:
- Buff the tiles: Remove grout haze with a clean cloth.
- Seal the grout: Apply a grout sealer to protect against moisture and stains.
- Polish for shine: Finish by polishing the tiles for a brilliant shine.
This ensures long-lasting protection and keeps the tiles looking great.
10. Tips to Maintain the Perfect Finish
To keep your tiled floor looking new:
- Clean regularly: Sweep or vacuum frequently to prevent scratches.
- Avoid harsh chemicals: Use pH-neutral cleaners to protect grout and tiles.
- Inspect grout lines: Periodically check for cracks or wear, resealing when necessary.
Proper maintenance will preserve the aesthetic and structural integrity of your floor.
Frequently Asked Questions:
- What is the best tile pattern for small rooms?
A diagonal or herringbone pattern can make small rooms feel larger and more dynamic. - How do I keep tiles straight?
Use spacers and check with a level during installation to keep tiles aligned. - Should I lay floor tiles from the center?
Yes, starting from the center ensures symmetry and even cuts along the edges. - How thick should grout lines be?
Grout lines are typically 1/8 to 3/16 inches thick, depending on the tile size and design preference. - Can I lay tile over old tile?
While possible, it’s generally better to remove old tiles for a better bond and to avoid height differences. - What tile is best for high-traffic areas?
Porcelain tiles are durable and resistant to wear, making them ideal for high-traffic areas.