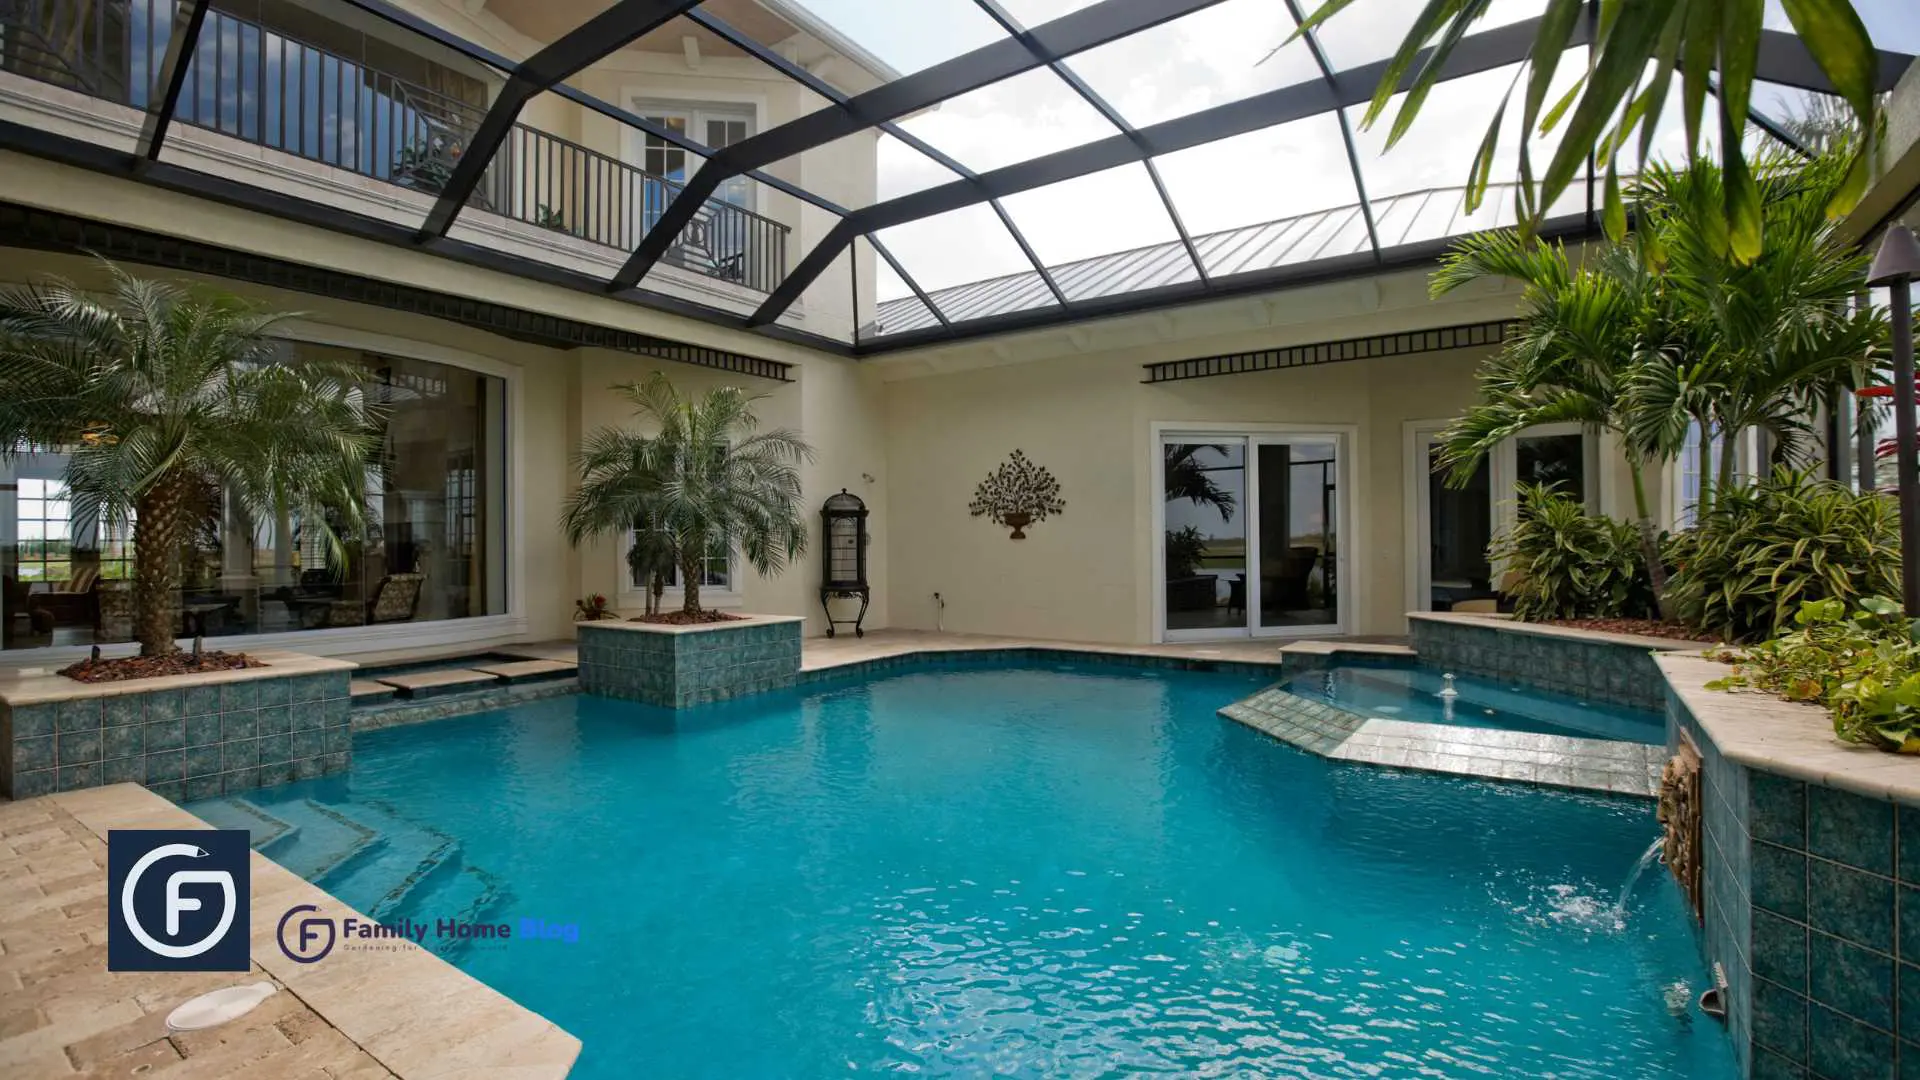
A pool cage protects the area surrounding your pool by keeping out garbage and insects while fostering a tranquil environment. Your pool cage’s paint may fade or chip with time, reducing its aesthetic attractiveness. Repainting becomes necessary to preserve it from the elements and restore its attraction. This thorough tutorial will lead you through painting a pool cage, assuring stunning results that will breathe new life into your outdoor area.
Reviving Your Pool Cage:
Assessing, Preparing, and Painting in Steps:
1. Assessing the Condition of Your Pool Cage
Examining your pool cage for corrosion or rust and deciding whether maintenance needs to be made constitute an integral part of evaluating its condition. This stage is essential for finding any problems that could impact how well the structure will endure overall and during painting. You can find any rusty spots, cracks, or other types of damage requiring to be fixed by closely inspecting your pool cage. This evaluation enables you to ascertain the complexity of repairs necessary before moving forward with the painting process, ensuring a seamless and successful transition.
2. Gathering the Necessary Tools and Materials
To paint the pool cage, one needs plentiful equipment and supplies. Here are a few essential items that should be included:
- To ensure your pool cage gets the best painting treatment, you can choose between brushes, rollers, or sprayers. Consider the size of your pool and select the method that suits your needs for a stellar finish.
- Throughout the painting process, it is necessary to prioritize safety by wearing protective equipment and clothing. Safety goggles, gloves and a mask can shield you from harmful chemicals and fumes.
- High-quality exterior paint and primer are essential for protecting your building from harsh weather conditions. To ensure long-lasting results, it’s essential to invest in a specialized exterior formula that guarantees resistance
- To make sure that the cage is free from dirt, filth, and rust, it is necessary to clean it with appropriate solutions. Cleaning solutions and rust inhibitors should be used for optimum results.
3. Preparing the Pool Cage
After collecting all the necessary tools and materials, it’s time to prepare your pool cage for painting. Follow these steps, which will guide you onwards to creating a beautifully painted pool cage.
- Before painting the pool cage, it is to protect the surrounding surfaces and clear the area. Remove any furniture, plants, or other items near the pool cage. Cover all surrounding surfaces with drop cloths or plastic sheets to avoid paint splatters on them.
- To clean the cage properly, it’s essential to use a cleaning solution that can effectively remove any dirt, dust, or grease buildup from the surfaces. Gently scrubbing the cage’s interior with a soft brush or sponge will ensure thoroughness. Once complete, rinse the surfaces meticulously to prevent any residue
- To smooth out rough patches or flaking paint, sanding or scraping is necessary. This vital step helps prepare a clean and even surface for painting, ensuring a polished finish.
4. Applying the Primer and Paint
Proper primer and paint application are critical for obtaining a professional-looking, long-lasting finish. Here are a few ideas:
- It is critical to select the best primer for your pool cage. Choose a primer formulated exclusively for metal surfaces to provide a solid grip and prevent corrosion.
- When painting, provide appropriate ventilation to avoid inhaling fumes. To do this while painting inside, fans and windows should be opened to increase air circulation.
- Follow the manufacturer’s instructions and apply an even priming layer first to achieve a smooth and equal spread. Allow the primer to dry before applying the paint in overlapping strokes. Organize your work into pieces and ensure that each element is completely covered.
5. Finishing Touches and Maintenance
To finish the job, certain finishing chores must be completed after the painting process.
- It is critical to wipe up any paint spills or drips promptly and reasonably. Priority should be given to removing protective covers from nearby surfaces.
- Examine your painted pool cage thoroughly with a tiny brush or roller, searching for any places that need to be touched or areas that might have been overlooked.
- It is necessary to scrub your newly painted pool cage regularly using a moderate soap and water solution to ensure that it retains its beauty and is protected from the buildup of dirt and debris.
FAQs:
Q1. How often should I recoat my pool cage?
The pool cage should be recoated every 3-5 years, depending on factors, like temperature, sunshine, and wear and tear.
Q2. Can I paint over the current paint?
If the present paint is in good condition, you can repaint it after adequate cleaning and surface preparation. However, if there is considerable peeling or damage, it is preferable to discard the previous coating.
Q3. Do I have to put a specific sort of paint?
Indeed, it is critical to select a high-quality exterior paint formulated exclusively for metal surfaces. Look for colors that are long-lasting, resistant to weather, and UV-protective.
Q4. Is it possible to paint a rusted pool cage?
It is critical to solving the rust issue before painting a rusted pool cage. Before applying the paint, use a rust converter or primer to treat the afflicted areas.
Q5. Should I employ a professional or complete the task myself?
Painting a pool cage may be a do-it-yourself project if you have the time, tools, and courage. However, for intricate repairs, severe corrosion, or a flawless finish, it may be recommended to seek the assistance of a skilled painter.
Conclusion
Transforming your pool cage with a fresh coat of paint is a rewarding and long-lasting outdoor project. Follow the step-by-step instructions, assess the condition, gather the necessary tools, prepare the surface, and apply primer and paint with care. Regular maintenance will ensure your newly painted pool cage lasts for years.