

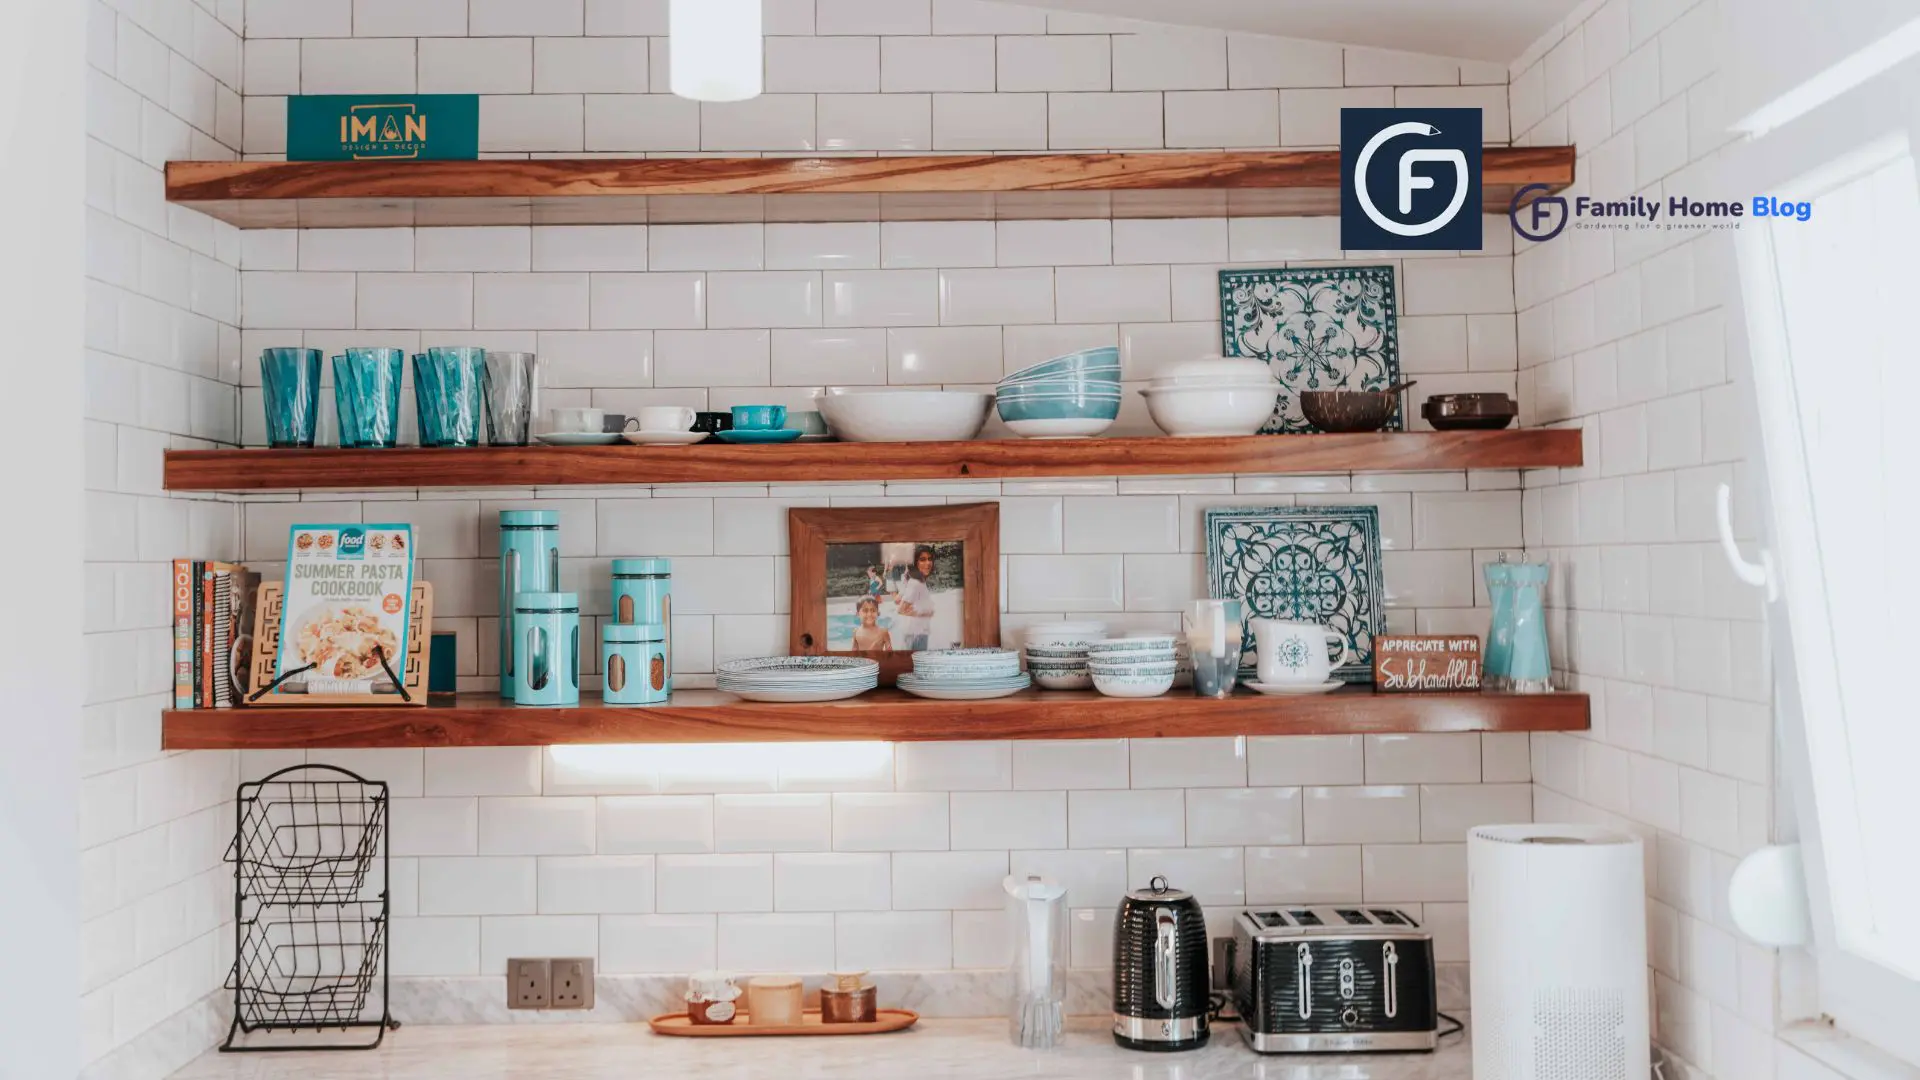
Increase the efficiency of your kitchen by installing large floating shelves. They make keeping items neat and straightforward while improving aesthetics and quick retrieval possible, creating an instant impact in any kitchen space. Remember their impact! This investment can make a substantial difference.
Key takeaways
- Anchor heavy shelves into wall studs or rated anchors and match bracket strength to the load
- Keep everyday dishes between shoulder and hip height and heavy items on the lowest shelf
- Leave distance between open shelving and the stove to limit grease, heat, and steam damage
- Wipe shelves weekly and edit contents seasonally so open storage stays useful, not cluttered
Kitchens featuring open shelving have become more prevalent. Open shelving provides a convenient way to show off kitchenware while keeping everything within reach and maintaining an aesthetically pleasing cooking area.
Large Floating Shelves Have Many Advantages
Large floating shelves in your kitchen can be an enormous help! By taking up up and down space, they provide more counter space. Plus, your kitchen becomes more efficient with easily reachable items on these floating shelves! It makes everything run smoother.
Big shelves floating in the air can give your kitchen an unconventional charm. Instead of being hidden behind closed cupboards, these open shelves add visual interest while providing easy access to items, giving your space more modernity and heft.
Sorting Items Strategically
Learn to keep your kitchen organized! Before placing items on your shelves, first manage them by group. Group similar-function items like pots, pans, spoons, and forks; consider how often each is utilized (daily/weekly/monthly, etc.). Finally, grouping like items together – canned goods, etc.—can conserve time and struggle when searching for what you need in a cluttered kitchen!
Organizing similar items on floating shelves is essential to creating an organized kitchen and making cooking easier. By keeping things that go together in one spot, like kitchen supplies or cookware, finding them becomes much more straightforward.
Efficient Shelf Placement
Proper shelf placement is of utmost importance. Consider where and how you plan cooking before choosing where to place brackets so they won’t get in your way, leaving enough space between shelves for sufficient air circulation. Before installing them permanently in their designated locations, ensure they work smoothly and look attractive!
Placing large floating shelves can be like solving a complex puzzle! First, examine your wall to ensure the frames fit appropriately and don’t appear too large; next, adjust bracket height to easily reach them while they look attractive; finally, place them close to where you cook to get all the necessary ingredients quickly.
Basket and Bin Solutions
Keep your shelves more organized by using baskets and bins. They can hold small items while creating an appealing aesthetic in the kitchen – ideal for spices and kitchen tools alike!
Containers help organize shelving units that are hanging or floating. See-through jars can keep grains and beans fresh while making brackets look neat. Baskets are also helpful for organizing baking supplies to create a collected look on shelves; all these containers make messy shelves look neat and pretty!
Maximize Vertical Space
Make the most of large floating shelves by using creative storage solutions. You can stack pots and pans one on top of another to save space. You should place cooking utensils on hooks or pegs under shelves for convenient organization – this will give you more storage capacity while keeping your kitchen neat and organized!
Stacking items high helps to keep them organized. Kitchen tools like knives and cutting boards free up valuable storage space while making accessing desired locations much more straightforward – creating a more presentable and functional kitchen!
Showcasing Decorative Elements
Add colorful plates, artwork, and small plants with green leaves to your kitchen shelves to make them seem friendlier and more helpful. Mixing essential cooking equipment with beautiful pieces like plates, artwork, or small plants blooming flowers will make your space appear inviting and engaging.
Enhance the appearance of your kitchen by placing unique things on shelves that appear floating. Mix colorful plants, cute pictures, and stylish plates – all will give an excellent finished product to make your shelves beautiful and valuable.
Regular Maintenance and Refreshing Services
Here are a few helpful tips for keeping your kitchen neat! To begin with, clear away things you no longer use and give them away to others who could benefit. Additionally, keep all new purchases organized into specific places to remain manageable, and remember to clean shelves and containers regularly to maintain an orderly workspace.
Maintaining a tidy kitchen is vital. Regular checks and tidy-up sessions should take place, which include going through what’s in your kitchen and getting rid of anything you no longer use or that has seen better days. Furthermore, rearrange furniture to reflect how you use the room; this helps create an efficient workspace to cook in.
How to Install Large Floating Shelves So They Stay Level and Secure
The hidden bracket is what makes a floating shelf look clean, and it is also what carries all the weight. Start by locating wall studs with a stud finder and marking them lightly in pencil. Whenever possible, screw the bracket directly into at least two studs. If your layout forces you between studs, use heavy-duty anchors rated for the load you plan to store, and check the packaging for weight limits rather than guessing.
Use a long level across the full width of the shelf, not just a short torpedo level, because small errors show up clearly on a long, open board. Drill pilot holes, attach the bracket, then slide the shelf on and test it with steady downward pressure before loading dishes. Tile, plaster, and brick walls each need different drill bits and fasteners, so confirm your wall type first.
Once the shelf is up, wait before loading it fully. Place a few everyday items on it for a day or two and check that it stays level and the bracket has not shifted. If you notice a slight forward tilt, remove the board and tighten or reposition the bracket screws. Catching small problems early is much easier than fixing a shelf full of dishes.
- Stud finder and pencil
- Level at least as long as the shelf
- Drill with the right bit for your wall
- Heavy-duty screws or rated anchors
- Painter’s tape to mark bracket height
Choosing the Right Size, Depth, and Material
Before buying, measure what you actually want to store. Dinner plates, mixing bowls, and cookbooks need more depth than spice jars or mugs, so a shelf that is too shallow leaves items hanging over the edge. Width matters too: a long shelf across a single wall can look striking, but it needs enough bracket support along its span to avoid sagging in the middle over time.
Solid wood looks warm and can be refinished, but it can move slightly with humidity near a sink or dishwasher. Engineered wood and veneer boards are often lighter and more budget friendly, while metal or stone shelves suit modern and industrial kitchens. Prices vary widely by region, material, and length, so compare the total cost including brackets and hardware, not just the board itself.
Think about finish as well. Kitchen shelves see moisture, cooking splatter, and frequent handling, so a sealed or wipeable surface is easier to live with than raw wood. If you choose unfinished boards, apply a food-safe sealer or oil suitable for kitchen use before installation, and plan to refresh it periodically according to the product directions.
Common Mistakes and Safety Tips for Open Kitchen Shelving
One frequent mistake is mounting large floating shelves right above the cooktop. Heat, steam, and airborne grease settle on everything stored there, which means more cleaning and a shorter life for wood finishes. Another is overloading the top shelf with heavy cast iron or stacked stoneware that is hard to lift down safely. Keep the heaviest pieces low and within easy reach.
If you have young children, avoid storing glass, knives, or cleaning products on low shelves they can reach, and never encourage climbing to grab something. In earthquake-prone areas, a thin rail or museum putty can help keep items in place. Finally, resist filling every inch; a little breathing room makes shelves easier to use and quicker to wipe down.
If you are unsure about the wall behind your shelves, or you plan to store a lot of heavy cookware, it can be worth calling a handyman or carpenter. They can locate framing, check for hidden pipes or wiring, and recommend brackets suited to the load. For tiled backsplashes especially, a professional can drill cleanly without cracking tiles.
- Keep shelves away from direct stove heat
- Store heavy items on the lowest shelf
- Keep breakables and chemicals out of kids’ reach
- Leave some empty space on each shelf
Frequently Asked Questions
How much weight can large floating shelves hold?
It depends on the bracket, the fasteners, and whether the shelf is anchored into studs. Shelves screwed into studs with sturdy steel brackets can typically hold far more than those relying on drywall anchors alone. Always check the manufacturer’s stated weight limit, spread weight evenly, and keep the heaviest items close to the wall.
Can I hang floating shelves on drywall without studs?
Yes, but only with heavy-duty anchors rated for the weight you plan to store, and it is best for lighter items like mugs, jars, and decor. For dishes, cookbooks, or cookware, try to hit at least one or two studs. If your wall layout makes that impossible, a handyman can suggest a safer mounting method.
How deep should kitchen floating shelves be?
Most kitchen shelves work well between about 8 and 12 inches deep. Shallower shelves suit spices, glasses, and mugs, while deeper ones handle dinner plates and mixing bowls. Measure your largest plate or bowl before buying so nothing hangs over the edge, and remember that deeper shelves put more leverage on the bracket.
How do I keep open kitchen shelves from getting greasy and dusty?
Place shelves away from the stove, run your range hood while cooking, and wipe shelves weekly with a damp cloth and a little dish soap. Store items you use often on open shelves, since frequent use means less dust settles. Keep rarely used pieces in closed cabinets or lidded bins instead.
Conclusion
It Transforms your kitchen with large floating shelves! Organize similar items together so you can easily find them; use boxes to declutter, stack pots and pans to save space, place plants or pictures on the shelves for visual interest, and regularly tidy up to maintain an organized and friendly look.
Do you want to improve your kitchen? Here are some tips for floating shelves to help tidy up and add aesthetic value. Begin enhancing your space today for an enjoyable cooking and eating experience.


