

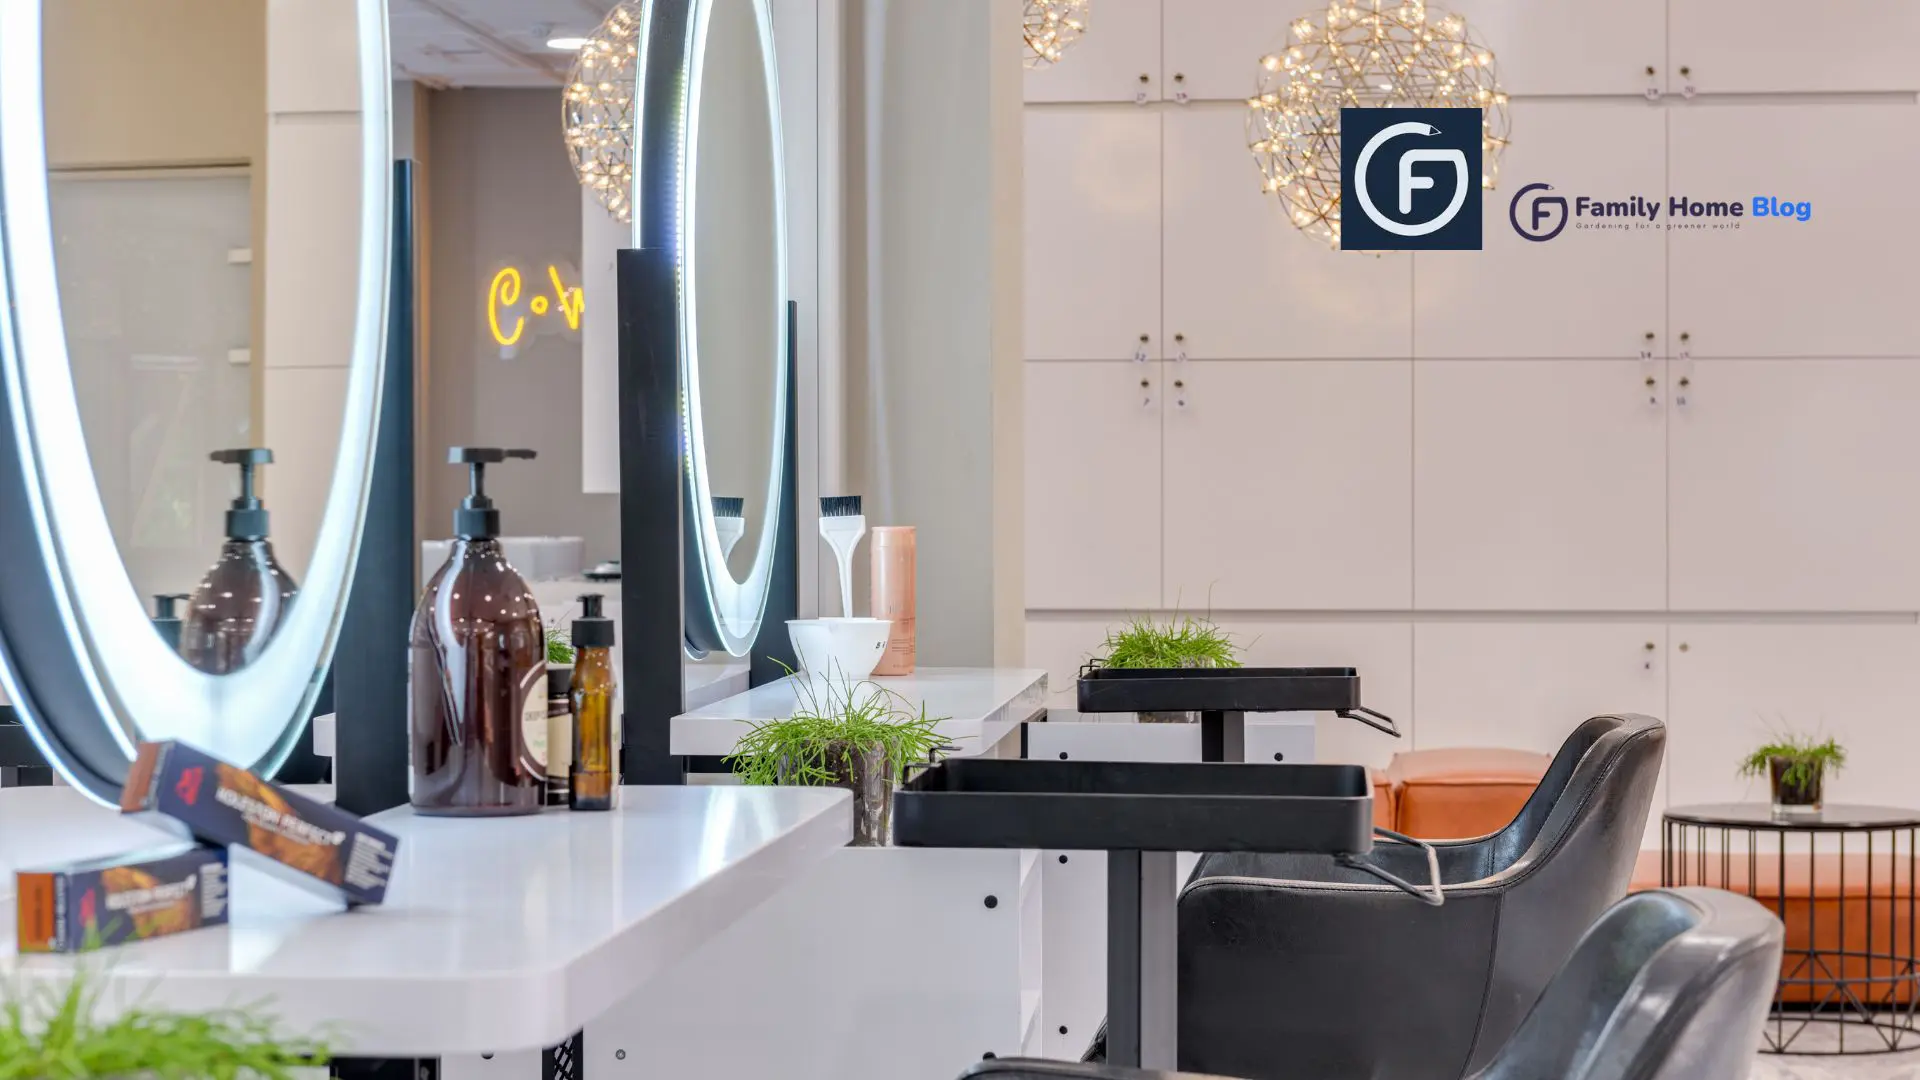
Have you always dreamed of having your very own magical space for makeup? Today, we’ll dive deep into the fascinating world of corner makeup vanities tailored especially for you! Picture a cozy corner in your room with a stylish yet practical makeup setup expressing creativity and personal style. We’re here to share great ideas on setting up your corner makeup vanity, so get ready to explore some fantastic and innovative methods!
Key takeaways
- Measure the corner and walls carefully, since corner vanities come in triangular and L-shaped layouts
- Choose soft, even lighting at face level so makeup looks the same in daylight
- Keep makeup tidy, labeled, and away from heat, and toss old products regularly
- Anchor tall mirrors and hutches to the wall and keep cords away from walkways
Understanding Teenage Makeup Needs
Teenagers have makeup needs and preferences that differ from adults, often exploring various styles and colors as a form of self-expression. A dedicated space for makeup helps teens feel organized and prepared – it acts like their own creative zone!
Teens need somewhere to practice their makeup skills, keep products organized, and prepare themselves for school or special events without feeling self-conscious or nervous about looking good – having a corner makeup vanity just for them helps build self-esteem while enjoying their journey!
Select the Perfect Corner Makeup Vanity
Corner makeup vanities can be the ultimate space-saver in teenage bedrooms. Perfectly fitting into the corner, they leave more room for other fun stuff in their room while still conserving precious square footage. Imagine it like a puzzle piece – all fitting perfectly into place to maximize space efficiency.
Size, style, and functionality are essential when selecting the ideal corner makeup vanity. Size should fit snugly into its corner without crowding out other parts of your room; style is all about finding one that complements your taste and bedroom decor; functionality ensures there is enough storage for all of your beauty goodies as well as an excellent mirror to provide flawless makeup sessions – so choose wisely young beauty guru!
Stylish Design Ideas
There are a variety of stylish teen corner makeup vanities to choose from when it comes to selecting one for yourself.
Modern and Minimalist Designs: If you prefer clean and minimalist looks, modern makeup vanities may be just what you’re searching for. Usually featuring sleek lines and smooth surfaces as well as neutral hues like white, black, or gray, many come equipped with large mirrors as well as storage drawers to help keep everything tidy!
Vintage-Inspired Vanities: For those who appreciate nostalgia, vintage-style vanities can be unique pieces to adorn their bathroom or dressing area. Constructed of wood with ornate designs and intricate details reminiscent of another period, like the 1950s style, it can take your outfit prep back in time as you get ready.
Colorful and Fun Themes: For those who like colors and fun, vanities with vibrant themes such as bright pinks or purples or themed designs like princess or beachy vibes can make your makeup area much more exciting and show individuality. These vanities will add personality and make applying makeup truly enjoyable!
Make things easy on yourself by browsing online stores or furniture shops for vanities that match your style best! Just select the vanity that suits it perfectly!
Practical Organization Tips
Use Organizers: Clear containers or makeup trays can help keep your makeup organized, making it easy to see everything at a glance. Split lipsticks into individual containers while eyeshadows go in another – it’s up to you!
Drawer Dividers: If your vanity contains drawers, consider investing in drawer dividers as miniature walls to organize and separate your makeup products more efficiently. They simplify finding items – use brushes vs. blushes as an example!
Good Lighting: Quality lighting can be like having an extra set of eyes when applying makeup flawlessly. If your vanity doesn’t feature built-in lights, consider purchasing a makeup mirror with built-in lights as an addition.
Keep things organized so you can quickly locate what you need when needed, so you’ll be ready to put on your makeup looks in no time!
DIY Solutions for Creative Teens
DIY (Do-It-Yourself) projects offer creative teens an inexpensive and creative way to build a corner makeup vanity without spending too much. Here’s an essential guide on how to get started:
First, locate a small table or desk in one corner of your room. You could already own one or find secondhand options to save money.
Once assembled, gather essential tools such as a screwdriver, sandpaper, and paint (if applicable), as you will be altering its color.
Now it’s time to add our personal touch! Sand the table smoothly before painting it a color that matches your room or style.
Add a large mirror to one side of the table for visual impact and makeup application. You can often find these inexpensive pieces at thrift shops and dollar stores.
For easy makeup organization, small containers or trays may be helpful. Decorate them with stickers or paint to give them an attractive appearance.
Done! Congratulations on creating your very own corner makeup vanity! Not only is this DIY project budget-friendly, but it also allows you to express your creativity! Have fun!
Safety and Organization
Safety should always come first when using makeup, particularly among teens. Here are a few tips to keep yourself and your makeup organized:
1. Clean Brushes: Regularly cleanse your makeup brushes for best results; dirty ones can lead to skin issues. For best results, use mild soap or a special brush cleaner.
2. Review Expiration Dates: Respect the expiration dates of makeup products; using expired makeup could result in skin issues, so it is wise to dispose of them when they have expired.
3. Avoid Sharing: Avoid sharing makeup with friends as this could spread germs and diseases.
4. Keep It Tidy: Maintain a clean makeup area to avoid accidents and quickly locate products you like. This can save time searching for them!
5. Store Makeup Carefully: Always store makeup in a calm, dry environment to preserve its texture and quality. Temperature changes or humidity fluctuations can drastically alter its composition.
6. Utilize a Mirror: When applying makeup, always utilize a high-quality mirror. Doing so allows you to see what you’re doing while helping prevent accidents from occurring.
7. Use Sharp Tools With Caution: Some makeup tools, such as eyelash curlers or scissors, may be sharp. Take care when handling them to avoid injury.
Following these simple guidelines ensures your makeup routine remains safe and organized, helping you look and feel your best!
How to Measure a Corner for a Makeup Vanity
Corners are rarely perfect right angles, so measure carefully before buying a corner makeup vanity. Use a tape measure to check how far along each wall the vanity can extend, then look for baseboards, outlets, window trim, or heating vents that could block it. Measure the ceiling height too if you want a tall mirror or a hutch with shelves.
Remember to leave space for the chair or stool and for a person to sit comfortably. A vanity that fits the corner but leaves no room to pull out a seat will quickly become frustrating. Painter’s tape on the floor is a simple way to outline the footprint and see how it affects walking space before you order.
Also think about the mirror. A corner makeup vanity often looks best with a mirror sized to its width, and a wall-mounted mirror can save surface space compared with a freestanding one. If you plan a tall hutch or shelves, check that the top will not block a window or light switch, and plan to anchor it to the wall.
- Measure both walls from the corner outward
- Note outlets, vents, windows, and door swings
- Plan room for a stool to slide in and out
- Tape the footprint on the floor to preview it
Choosing Lighting for a Corner Makeup Vanity
Lighting is what makes a vanity truly useful. Corners can be darker than the rest of a room, and overhead lights often cast shadows under the eyes and chin. The best setup puts light at face level, either from both sides of the mirror or from a ring of bulbs around it, so the face is lit evenly.
Look for bulbs described as daylight or natural white so makeup colors look the way they will outside. Dimmable LEDs let teens adjust brightness for different tasks, and they stay cool to the touch. If you add a plug-in lighted mirror, route the cord along the back of the vanity and use a nearby outlet instead of a long extension cord.
Placement near a window can help during the day, but natural light changes by the hour. Positioning the vanity so daylight falls on your face instead of behind you avoids a dark silhouette in the mirror. In the evening, the face-level lights take over. A small magnifying mirror with its own light can help with detailed work like eyeliner or brows.
- Put light at face level, not only overhead
- Choose natural or daylight white bulbs
- Use cool-running LEDs near makeup and hair products
- Keep cords tucked away from feet and chair legs
Keeping Makeup Clean and Safe at the Vanity
A tidy vanity is also a healthier one. Makeup brushes and sponges collect oil and bacteria, so a simple weekly routine of washing them with gentle soap and letting them dry flat keeps them in good shape. Wipe down the vanity surface and mirror regularly, and keep lids tightly closed on creams and liquids.
Makeup does not last forever. Mascara and liquid products are usually best replaced every few months, and anything that smells odd or changes texture should go. Store products away from sunny windows and heaters, and avoid sharing eye products with friends. If any product causes irritation, stop using it and talk to a parent or a doctor.
Parents can help by setting up a simple storage system together. A small, clearly labeled bin for everyday items and a separate one for special-occasion products makes it easy to spot what is running low. Keep nail polish remover and aerosol products closed and away from lights and heat, and store anything that is not safe for younger siblings out of their reach.
Frequently Asked Questions
What size corner makeup vanity fits a small bedroom?
Compact triangular or quarter-round designs work best in small bedrooms because they tuck into the corner without sticking out far. Measure each wall from the corner and leave room for a stool. Choosing a vanity with a wall-mounted mirror instead of an attached hutch can also keep the space feeling more open.
What lighting is best for doing makeup?
Even light at face level works best, such as lights on both sides of the mirror or a ring of bulbs around it. Choose natural or daylight-white bulbs so colors look accurate, and dimmable LEDs so brightness can be adjusted. Avoid relying only on an overhead ceiling light, which casts shadows.
Can I turn a regular desk into a corner makeup vanity?
Yes. A small desk or table placed in a corner can become a vanity with a wall mirror, a lamp or lighted mirror, and a few organizers. Corner shelves or a pegboard above add storage. Make sure the desk is stable and any mirror is securely mounted to the wall.
How do I keep a teen makeup vanity organized?
Use clear containers and drawer dividers so products are easy to see, group items by type, and keep everyday products within reach. Set a routine to clear the surface after each use, wash brushes weekly, and go through products every few months to toss anything old or unused.
Conclusion
Teens know the value of having an organized corner makeup vanity, which helps keep their cosmetics safe and neat. We explored stylish designs and practical ideas ranging from modern to vintage styles – or make your own with crafts! Budget-conscious options also exist – remember to keep things safe and organized while adding some personal touches with cool decorations for added personalization! So, teens, take the initiative and set up your perfect makeup spot today; you won’t regret it.


