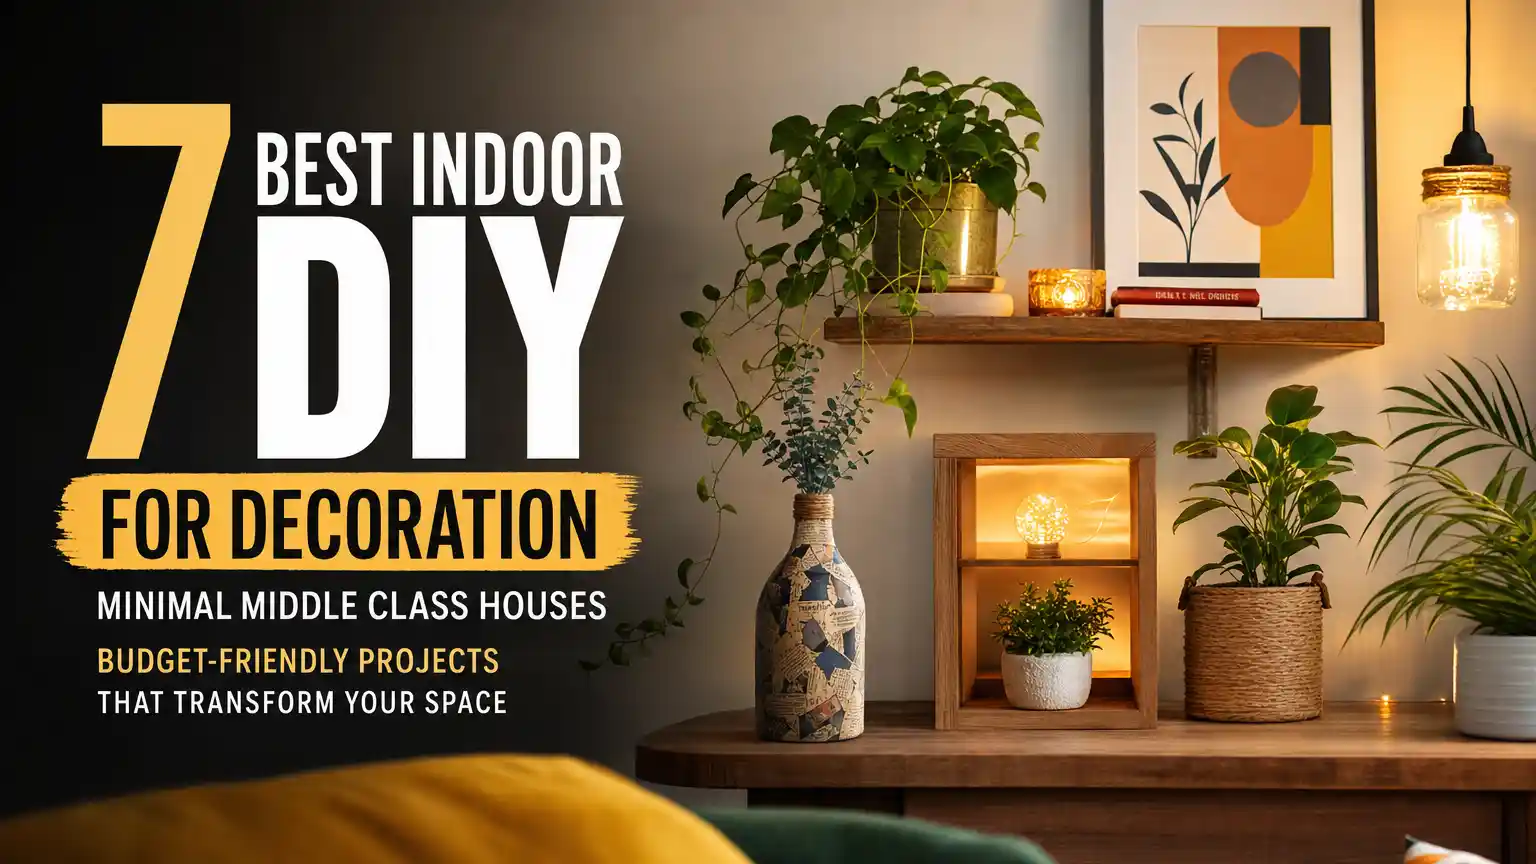
Middle-class homeowners often face a common challenge: creating a beautiful, welcoming space on a realistic budget. The best indoor DIY for decoration for minimal middle class houses focuses on high-impact projects that cost under $200 each while maximizing every square foot. These strategic improvements can increase your home’s perceived value by 15-25% without requiring professional contractors.
Smart decoration isn’t about expensive furniture or major renovations. It’s about choosing the right projects that deliver the biggest visual transformation for your investment. The following seven DIY approaches have helped thousands of homeowners create magazine-worthy spaces using accessible materials and weekend time commitments.
Quick Picks: Top 7 Budget DIY Decoration Projects
- Accent Wall with Peel-and-Stick Wallpaper — easiest high-impact change — $50–$120
- DIY Floating Shelves — adds storage plus style — $30–$80
- Gallery Wall with Thrift Store Frames — personalizes any room — $40–$100
- Window Treatment Upgrade — instant elegance boost — $60–$150
- Mirror Wall Installation — doubles visual space — $80–$180
- Indoor Plant Corner with DIY Stands — brings life indoors — $70–$160
- Lighting Transformation with Smart Bulbs — changes room mood — $90–$200
Create Stunning Accent Walls Without Paint
Peel-and-stick wallpaper has revolutionized accent walls for renters and budget-conscious homeowners. Modern removable wallpapers stick firmly but remove cleanly, making them perfect for middle-class homes where permanent changes aren’t always possible.
Choose one wall per room — typically the wall behind your bed, sofa, or dining table. Measure carefully: a 10×12 foot wall needs approximately 120 square feet of coverage. Most peel-and-stick wallpaper costs $1.50–$3.00 per square foot, putting a full accent wall between $180–$360.
> Pro tip: Order 10% extra wallpaper to account for pattern matching and future repairs.
The installation process takes 4-6 hours for beginners. Clean the wall thoroughly, start from the center and work outward, and use a smoothing tool to eliminate air bubbles. Popular patterns for minimal spaces include subtle geometric designs, textured whites, or wood-grain finishes that add warmth without overwhelming small rooms.
Build Custom Floating Shelves That Look Expensive
Floating shelves provide both storage and display space — crucial for homes where every inch counts. Professional installation costs $150–$300 per shelf, but DIY versions using hidden bracket systems cost just $15–$25 per shelf to build.
Purchase pre-cut lumber from Home Depot or Lowe’s: 2×8 inch boards work best for most rooms. Sand lightly, apply wood stain or paint, and install using heavy-duty wall anchors rated for 50+ pounds. Each shelf supports approximately 30-40 pounds when properly mounted to wall studs.
Create visual interest by varying shelf lengths. Install three shelves at 12-inch, 18-inch, and 24-inch lengths at different heights. This asymmetrical arrangement costs under $75 total and provides flexible storage for books, plants, and decorative objects.
Position shelves 8-12 inches apart vertically for optimal proportions. In living rooms, place the bottom shelf 18-24 inches above furniture. In bedrooms, install 6-8 inches above nightstands for easy access to essentials.
Design Gallery Walls Using Thrift Store Finds
Gallery walls transform blank spaces into personalized focal points without expensive artwork. Thrift stores, garage sales, and discount retailers offer frames for $2–$8 each — a fraction of retail prices that can reach $30–$80 for similar pieces.
Collect 7-12 frames in complementary colors or finishes. Mix frame sizes: combine 8×10, 11×14, and 16×20 inch frames for visual variety. Spray paint mismatched frames in unified colors — white, black, or metallic finishes work well in minimal spaces.
Fill frames with personal photos, free printable art from design blogs, or pages from old books and magazines. Pinterest offers thousands of free printable designs specifically sized for standard frames.
Plan your layout on the floor before hanging. Maintain 2-4 inches between frames and center the grouping 57-60 inches from the floor (eye level for most adults). Use removable adhesive strips for lightweight frames or picture hanging strips rated for each frame’s weight.
Upgrade Window Treatments for Instant Elegance
Windows often get overlooked in budget decorating, but the right treatments can make rooms appear 20-30% larger while adding sophistication. Replace basic blinds with flowing curtains hung 4-6 inches above the window frame and extending 8-12 inches beyond each side.
Purchase curtain rods that span the full wall width rather than just the window. This creates an illusion of larger windows and more natural light. Standard 48-84 inch adjustable rods cost $15–$35, while curtain panels range from $20–$60 per pair at discount retailers.
Choose light-colored fabrics in white, cream, or pale gray to maximize light reflection. Hang curtains floor-length even if windows are shorter — the vertical lines make ceilings appear higher. For rooms with 8-foot ceilings, 96-inch panels create the most dramatic effect.
> Pro tip: Iron or steam curtains before hanging to eliminate package creases that cheapen the overall appearance.
Layer treatments for maximum impact: combine sheer panels with heavier curtains for privacy control and visual depth. This approach costs $80-150 total but delivers the sophisticated look of custom window treatments.
Multiply Space with Strategic Mirror Placement
Mirrors reflect light and create the illusion of expanded space — essential tricks for smaller middle-class homes. A well-placed mirror can make a room feel 40-50% larger by bouncing natural light and creating visual depth.
Position large mirrors opposite windows to maximize light reflection. IKEA offers stylish mirrors starting at $25-60, while thrift stores often have unique vintage options for $15-40. Frame basic mirrors with decorative molding for a custom look that costs under $30 in materials.
Create mirror walls using multiple smaller mirrors arranged in geometric patterns. Purchase 12×12 inch mirror tiles for $8-15 each and arrange them in a 3×3 or 2×4 grid. This technique works especially well in narrow hallways or dining areas where space feels cramped.
Install mirrors at proper heights: 36-42 inches from floor to bottom edge in most rooms. In entryways, position mirrors 48-54 inches high so people can check their appearance before leaving. Secure all mirrors with appropriate wall anchors — mirror weight plus frame typically ranges 15-35 pounds.
Create Indoor Plant Displays That Purify Air
Indoor plants improve air quality while adding natural beauty to minimal spaces. NASA studies show that common houseplants remove 87% of air toxins within 24 hours. Strategic plant placement creates focal points and softens hard edges in modern homes.
Build simple plant stands using 2×4 lumber and basic brackets. A three-tier stand costs $25-40 in materials and accommodates 6-9 plants of varying heights. Position near windows but avoid direct sunlight that can scorch leaves.
Choose low-maintenance varieties perfect for busy middle-class families: pothos, snake plants, and ZZ plants thrive with weekly watering and tolerate low light conditions. Purchase plants from local nurseries during sales: 4-inch pots typically cost $8-15, while 6-inch pots range $15-25.
Group plants in odd numbers for visual appeal. Combine different textures and heights: trailing plants on top shelves, medium bushes in the middle, and compact plants at floor level. This layered approach creates professional-looking displays that rival expensive interior design.
> Pro tip: Use saucers under all pots to protect furniture and floors from water damage.
Transform Lighting with Smart Bulb Technology
Lighting dramatically affects room ambiance and perceived size. Smart LED bulbs allow you to adjust color temperature and brightness throughout the day, creating different moods without installing new fixtures. Quality smart bulbs cost $15-25 each but last 15-20 years with normal use.
Replace standard bulbs in existing lamps and overhead fixtures with dimmable LEDs. Warm light (2700K-3000K) creates cozy evening atmospheres, while cool light (4000K-5000K) energizes morning routines. Many smart bulbs connect to smartphone apps for easy control.
Add table lamps and floor lamps to eliminate harsh overhead lighting. Target and Walmart offer stylish options for $30-80 that complement minimal decor. Position lamps in room corners to eliminate shadows and create even illumination.
Layer three types of lighting: ambient (overhead), task (reading lamps), and accent (decorative). This professional technique makes rooms appear larger and more expensive. A complete lighting upgrade typically costs $150-300 but transforms your home’s entire atmosphere.
Bringing Your DIY Decoration Vision Together
The best indoor DIY for decoration for minimal middle class houses combines strategic planning with budget-conscious execution. These seven projects work together to create cohesive, stylish spaces that reflect your personality while respecting financial boundaries. Start with one or two high-impact changes like accent walls or window treatments, then gradually add elements over 3-6 months.
Focus on projects that serve multiple purposes: floating shelves provide storage and display space, mirrors expand visual area while adding style, and smart lighting improves both function and ambiance. This approach maximizes your decorating budget while creating lasting improvements.
Remember that successful DIY decoration isn’t about perfection — it’s about creating a home that feels welcoming and reflects your family’s lifestyle. Each project builds confidence for future improvements while proving that beautiful homes don’t require unlimited budgets.
Frequently asked questions
How much should I budget monthly for DIY home decoration projects?
Most middle-class families can comfortably allocate $50-100 monthly for DIY decoration projects. This allows you to complete one major project every 2-3 months while building a supply of basic tools and materials. Start with smaller projects to build skills before tackling more complex installations.
Which DIY decoration project delivers the biggest visual impact for the lowest cost?
Accent walls using peel-and-stick wallpaper typically provide the most dramatic transformation for $50-120. This project takes one weekend to complete and instantly modernizes any room without permanent changes that might affect rental deposits or resale value.
Can renters safely complete these DIY decoration projects without losing security deposits?
Yes, most of these projects use removable materials or standard hanging methods that don’t damage walls. Peel-and-stick wallpaper removes cleanly, removable adhesive strips work for lightweight items, and standard picture hanging is typically allowed in rental agreements. Always check your lease before starting any project.
How long does each DIY decoration project typically take to complete?
Most projects require 4-8 hours of active work time spread across one weekend. Accent walls take the longest at 6-8 hours, while simple shelf installation can be completed in 2-4 hours. Gallery walls require 3-5 hours including planning and layout time.
What basic tools do I need to complete these DIY decoration projects?
Essential tools include a drill with bits, level, measuring tape, stud finder, and basic hand tools like screwdrivers and hammers. Most homeowners can acquire these tools for $80-150 total. Many hardware stores also rent specialized tools for specific projects, reducing upfront costs.